


Hibiscus flower drawing is a timeless and rewarding exercise in both traditional and digital art. With their bold shapes, soft curves, and natural symmetry, hibiscus flowers are ideal for practicing linework, composition, and digital brush control.
Whether you're looking for an easy hibiscus flower drawing tutorial or a more refined floral illustration, this easy, step-by-step guide is designed to help beginners and hobbyists alike.

Tools You Need to Draw a Hibiscus Flower
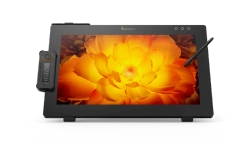
To begin your flower drawing, all you truly need is a simple sketchpad and pencil. However, if you're working in digital art or aiming for greater precision, control, and creative flexibility—a graphic drawing tablet paired with professional drawing software can elevate the entire experience.
A high-end drawing tablet like a Pen Tablet from Xencelabs offers features that make a real difference in the outcome of your artwork. With advanced pressure sensitivity, each pen stroke reflects your natural hand movement, from the lightest petal texture to the bold definition of a flower's outline. Exceptional pen accuracy and smooth line performance ensure that curves and contours flow effortlessly—critical when capturing the organic elegance of floral forms. Customizable shortcut keys let you switch brushes or tools instantly, keeping your focus where it belongs: on your creativity.
Whether you're a seasoned digital illustrator or a traditional artist making the leap into digital, investing in the best drawing tablet means you're not just drawing, you're crafting with intent and precision.
Step-by-Step Guide: How to Draw a Hibiscus Flower
Step 1: Draw the Flower Center

Start by drawing a small circle in the middle of your canvas—this will serve as the center of your flower. If you're using a graphic drawing tablet, you can hold the pen steady or use a shape tool to make the circle more precise. The flower's center acts as the anchor point, and the petals will radiate outward from here. Don't worry about perfection at this stage; it's just the foundation.
Step 2: Sketch the five petals

Hibiscus flowers typically have five large, overlapping petals. Use soft, broad, teardrop shapes that radiate around the center. The petals should be slightly ruffled or wavy to reflect their natural texture. Don't worry about perfect symmetry, hibiscus blooms often have organic irregularities that add to their charm.
Step 3: Add details like inner lines or folds

Now it's time to bring your flower to life by adding internal details. Sketch subtle lines from the petal edges toward the center to suggest folds or veins. These small touches add depth and realism to your drawing. On a digital tablet, adjusting brush opacity or using a pressure-sensitive pen can help create softer, more natural details.
Step 4: Draw the stem and leaves
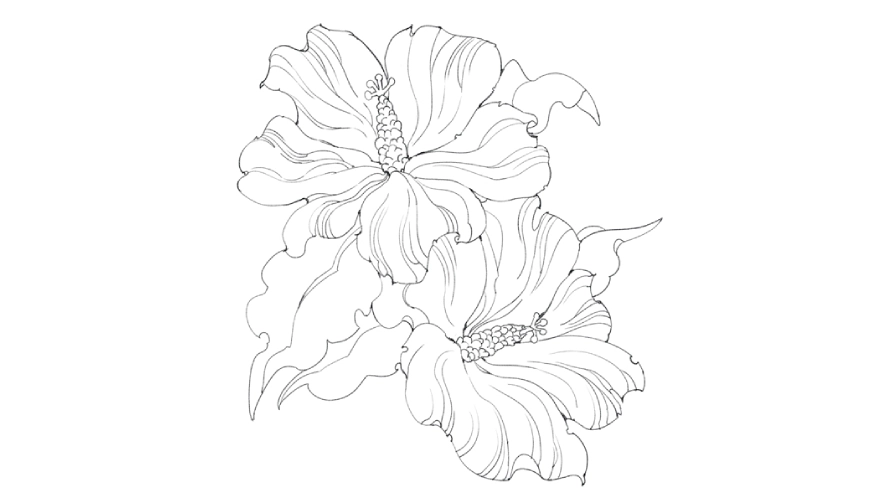
Sketch a long, elegant stem extending downward from the base of the flower. Then, add large, lobed leaves on either side—hibiscus leaves have jagged edges and a distinct central vein. Keep your strokes confident and fluid.
Step 5: Refine lines & clean up
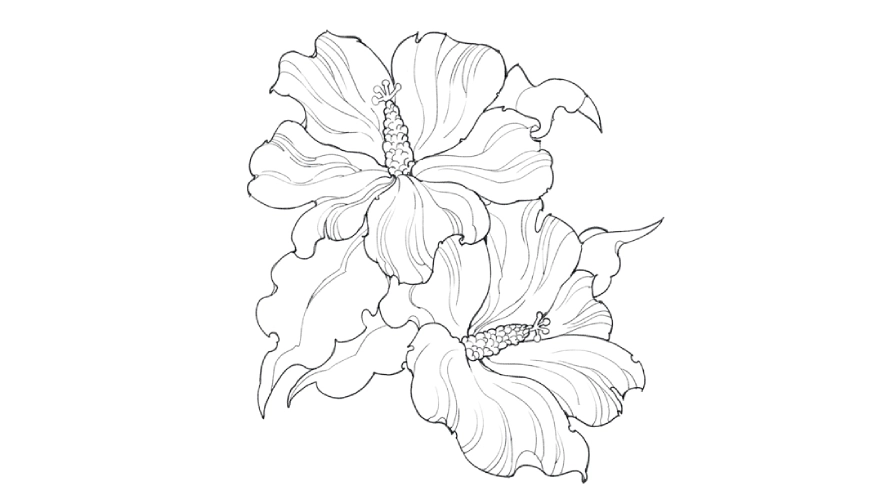
Go over your sketch to clean up rough lines and sharpen the shapes. You can lower the opacity of your initial sketch layer and trace over it with clean, confident strokes on a new layer (if using drawing software). This step helps finalize the structure before coloring. Take your time here to get the lines looking polished and expressive.
Step 6: Add colors or shading
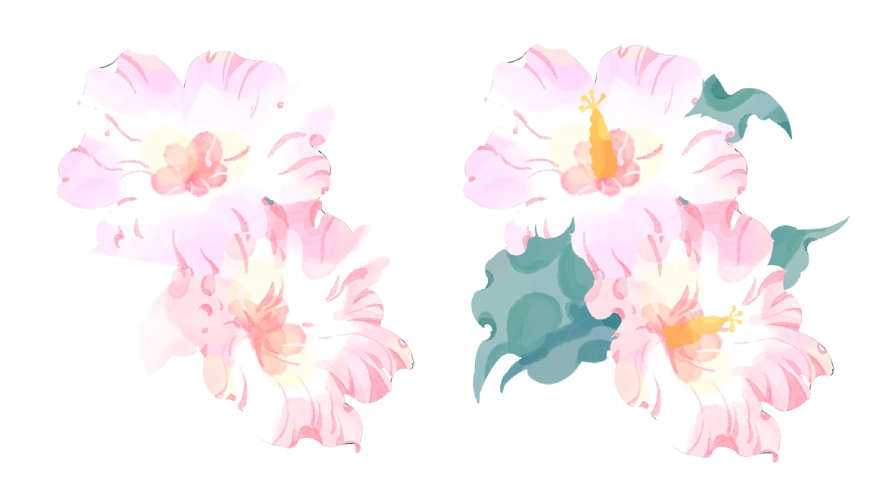
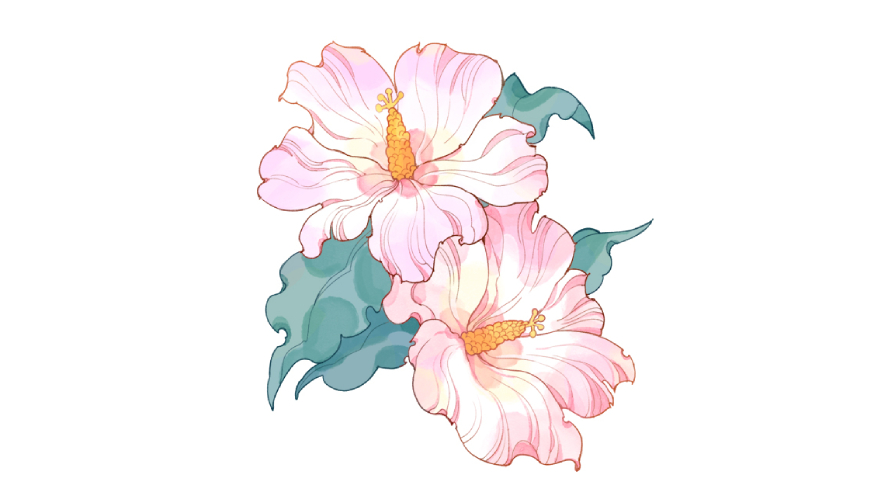
Now comes the fun part—coloring! Choose your flower's color palette, then fill in the petals, center, stem, and leaves. Use lighter and darker shades to add depth and realism. On a tablet, experiment with blending modes, gradients, and textured brushes to make your flower pop. You can also add a soft background or drop shadow to enhance the final artwork.
Common Mistakes & Tips for Improvement
Even with a simple subject like flower drawing, certain common mistakes can hold your work back. One is drawing petals that are overly symmetrical or stiff—real flowers have subtle variations that give them life. Try using reference images and practice looser, more organic shapes.
Another issue is flat shading. To avoid this, observe how light interacts with petal surfaces, and use a range of tones to build depth. If you're using a graphic drawing tablet, take advantage of pressure sensitivity to control line weight and shading naturally.
Lastly, avoid overworking your sketch. Clean, confident lines paired with thoughtful composition often produce the most elegant results. A high-performance drawing tablet helps you work non-destructively, letting you experiment and refine freely
Ready to Draw with Confidence?
Creating a drawing of a blooming hibiscus flower is more than just an artistic exercise, it's a way to capture movement, vibrancy, and the essence of nature in full bloom. From soft petal curves to bold central details, each stroke brings your hibiscus to life.
With a Xencelabs Pen Tablet, you'll enjoy the precision and fluidity needed to translate your vision into expressive, detailed artwork. Whether you're refining your skills or just beginning your creative journey, the right tools empower you to draw with confidence and clarity.
So open your canvas, trust your hand, and let your next masterpiece bloom—one petal at a time.