Welcome to the Xencelabs website
Select country or region to browse the content that applies to your location.


recommend
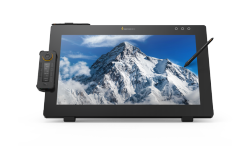
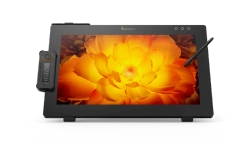
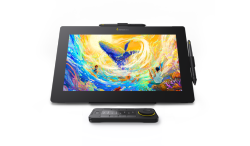
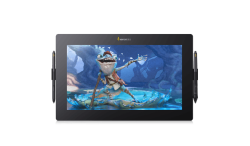
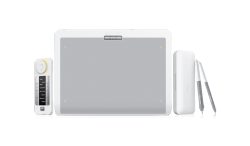
- Pen Display 24
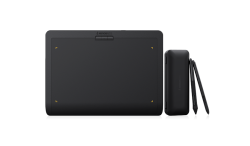
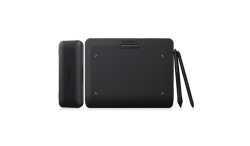
- Pen Tablet Medium
Welcome to the Xencelabs website
Select country or region to browse the content that applies to your location.
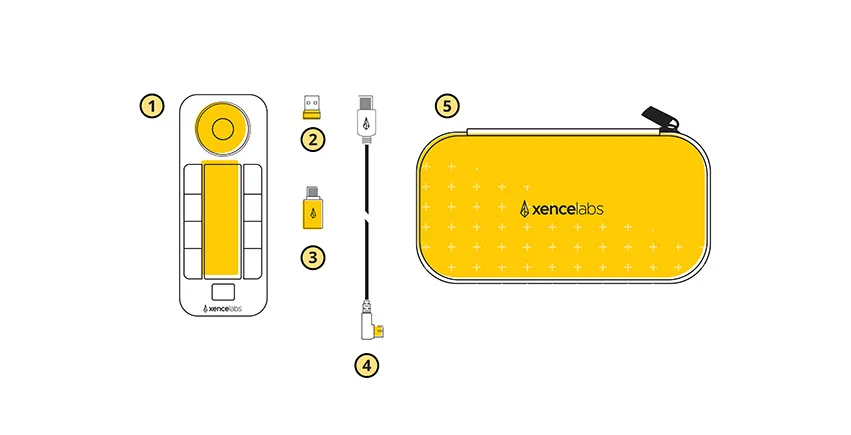
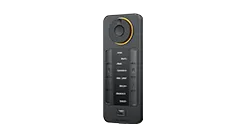
Quick Keys
Wireless Dongle
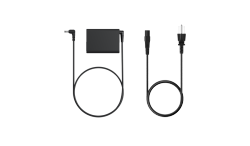
USB-A to USB-C Adapter
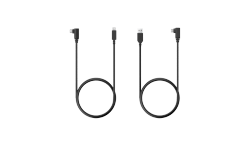
L-shaped USB-A to USB-C Cable
Quick Keys Case
Warranty Sheet
Thank You Card (not shown in image)
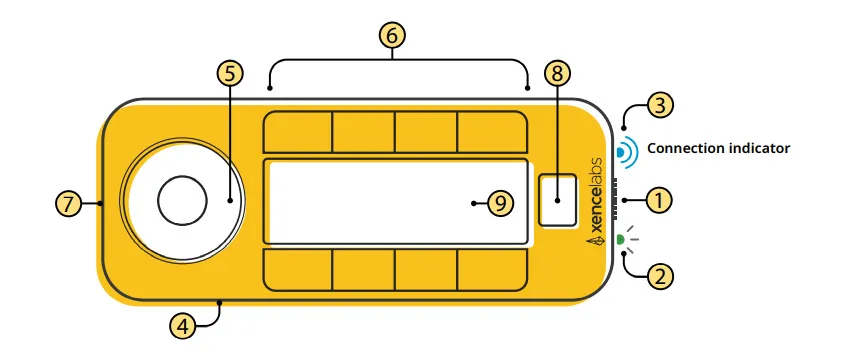
Slide and hold to turn on/off. Adjustable sleep times are in the settings panel.
Solid green light indicates full charge, breathing green light indicates charging, solid amber light indicates low battery.
Blinking blue light indicates searching for connection, solid blue light indicates successful wireless connection, and breathing blue light indicates connection via USB cable.
Kensington NANO® Security Slot™
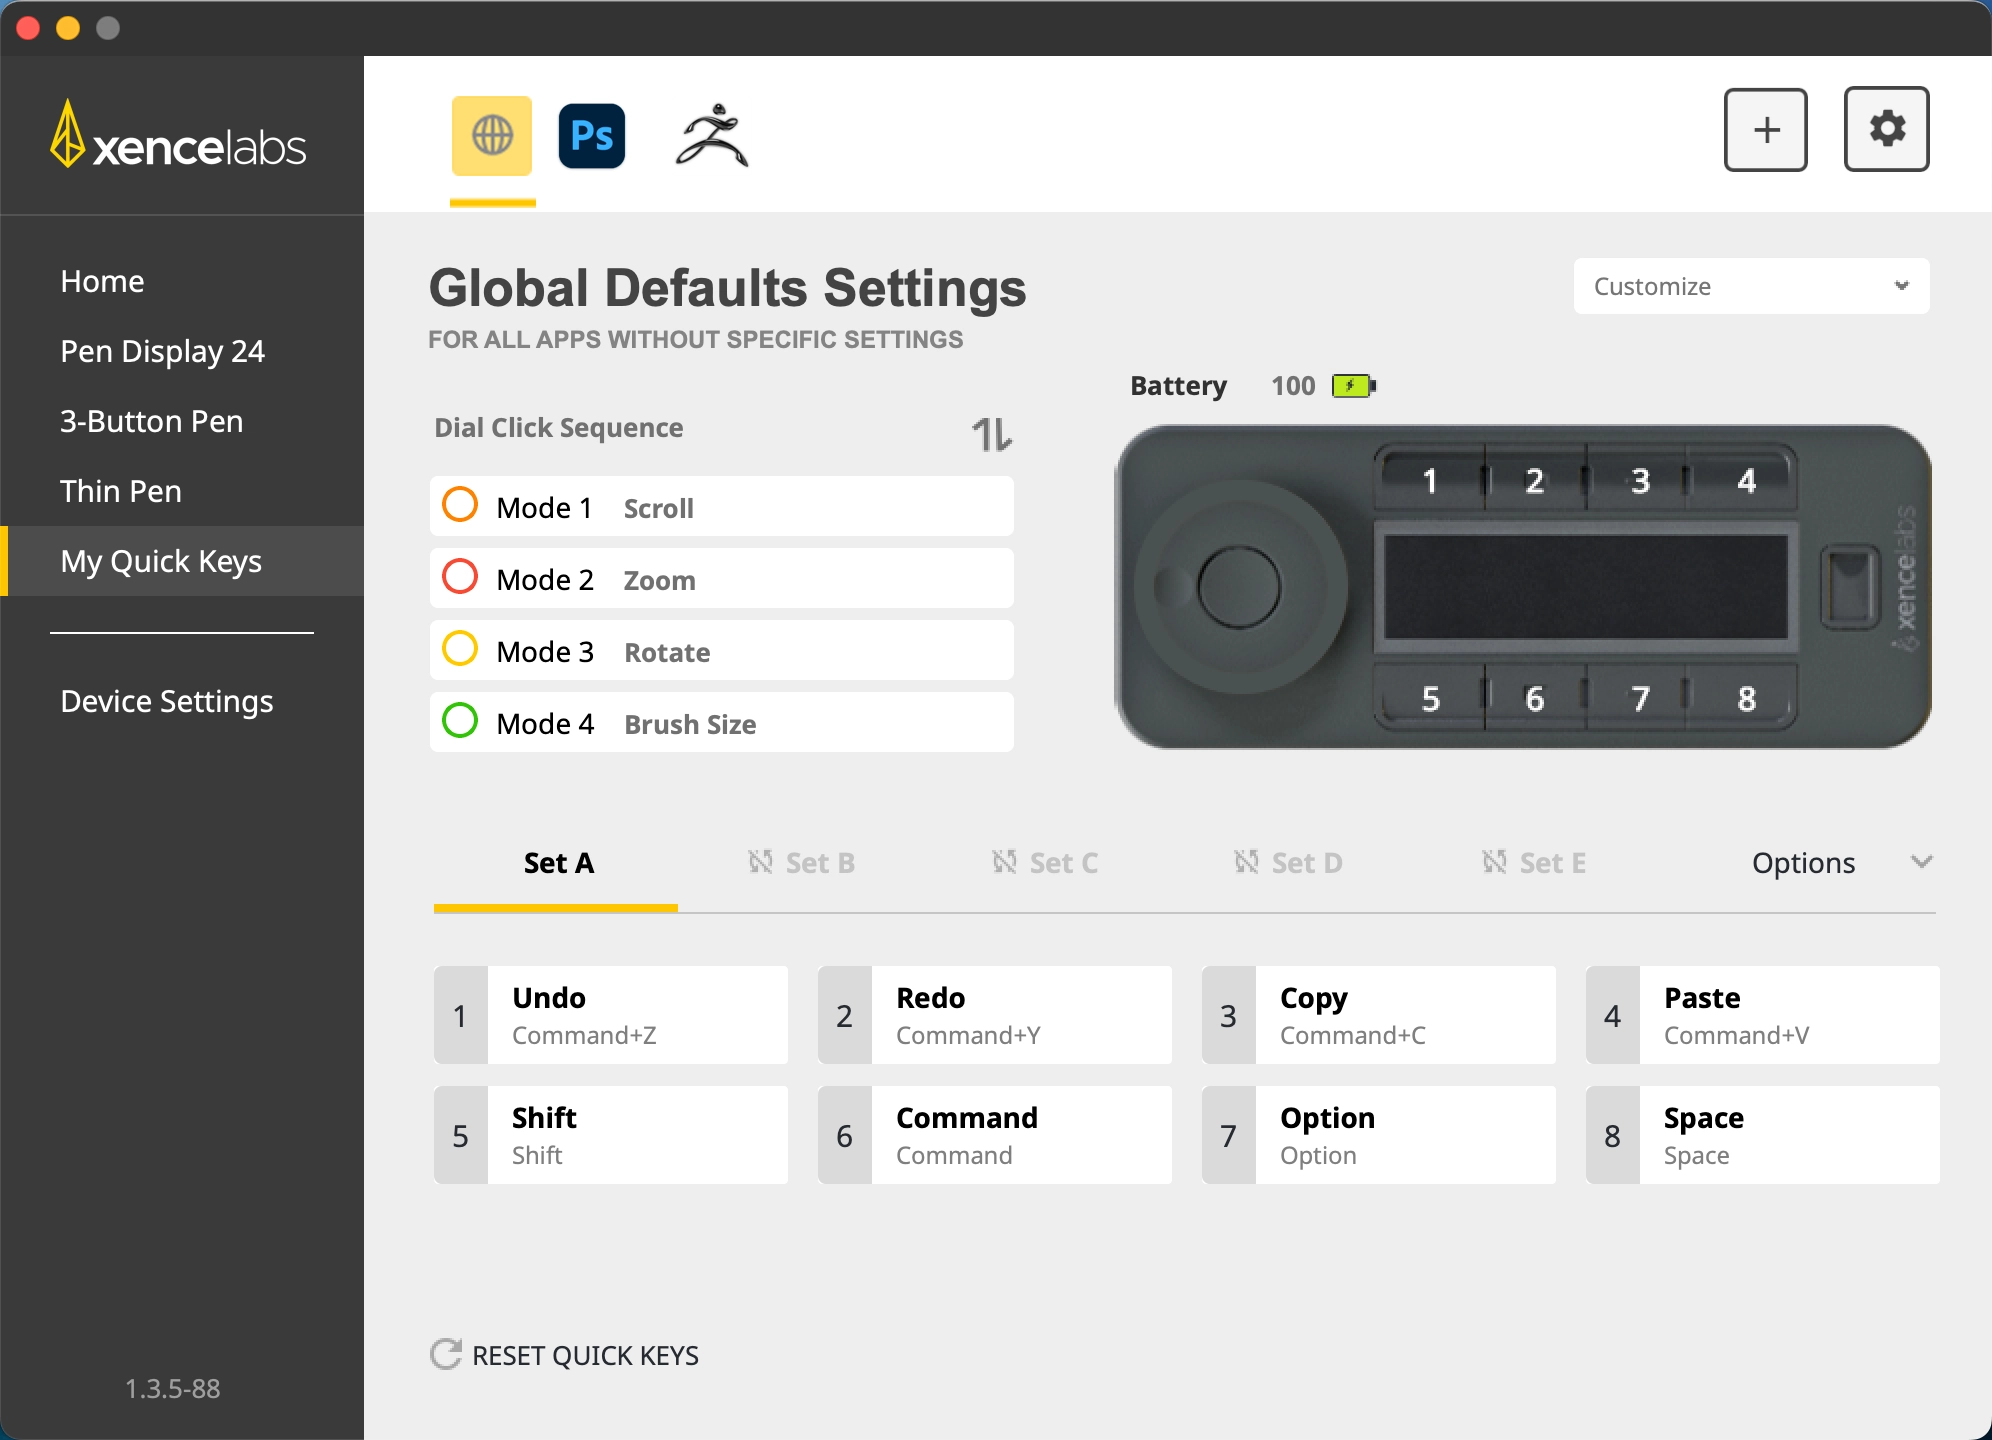
Customizable dial with 8 dimmable LED colors, supporting 4 modes (ie. zoom, brush size, etc). Center button switches between modes.
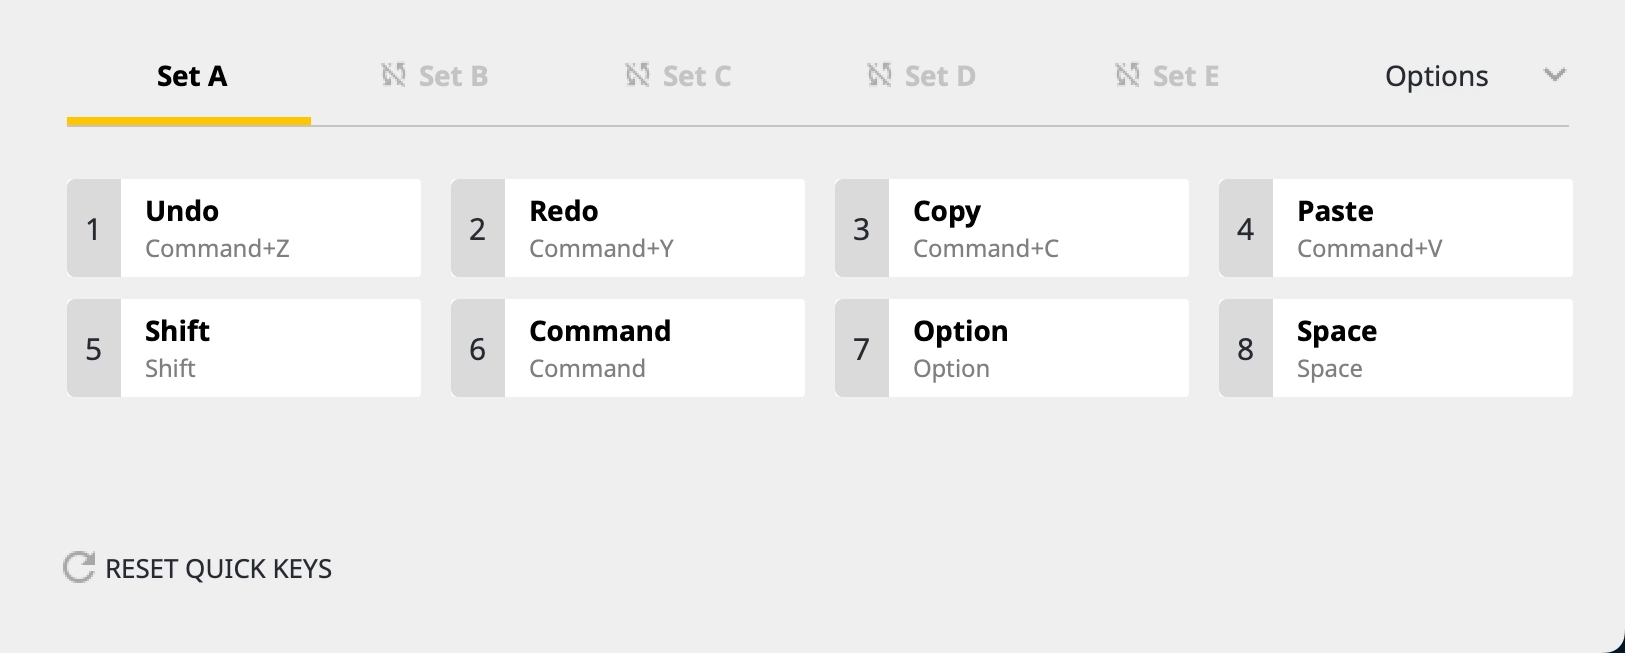
5 customizable groups of 8 keys for a total of 40 button shortcuts per application. You can disable sets if they are not needed. For example, group your separate workflow activities into individual sets (ie. sketching, coloring, editing).
Charge the battery and/or connect to the computer.
Controls the OLED display and allows you to switch between up to 5 shortcut groups.
Displays short cut key assignments.
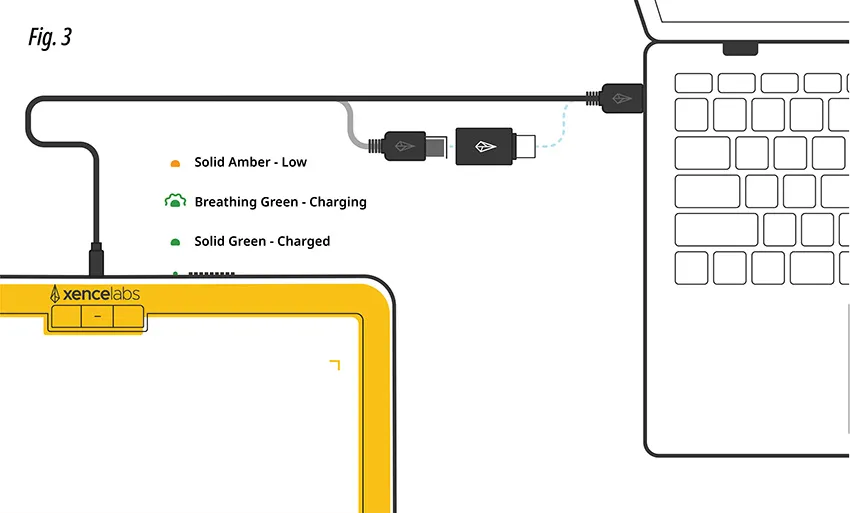
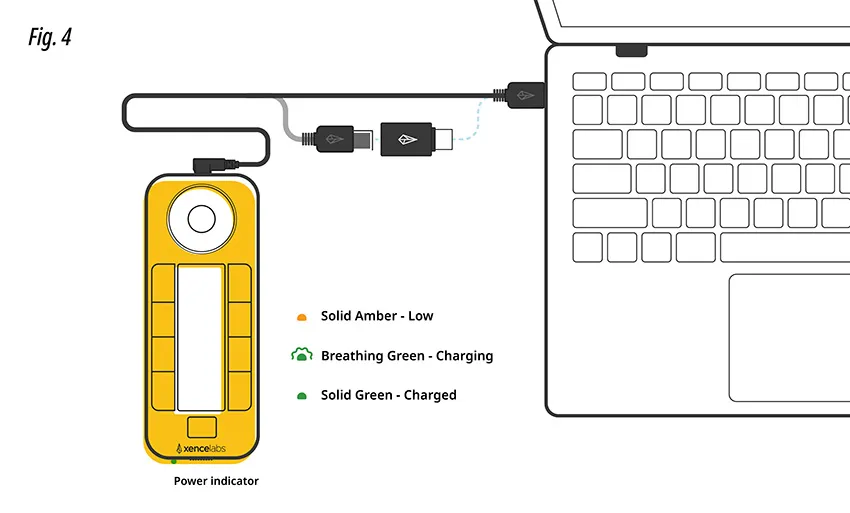
To charge your Quick Keys connect it to a powered-on computer, powered USB hub, or other USB charger (5mAh required). To use the Quick Keys over a wireless connection, make sure it is sufficiently charged. When fully charged, the Quick Keys will give you up to 53 hours of continuous use. When the battery is critically low, the LED lights will turn amber, and a breathing green light indicates charging. See driver settings panel for charge status.
You can connect Quick Keys wirelessly with the provided dongle, which establishes a wireless connection between the remote and the tablet/display. Additionally, we have provided a USB-A to USB-C adapter if you need it.
For added convenience, the single provided dongle will connect both Quick Keys in addition to a Xenselabs tablet.
The Quick Keys requires the Xencelabs driver to function, and all shortcut key settings are configured within the driver. Use the link below to access the Xencelabs downloads page for the appropriate driver version for your operating system.
After downloading, run the driver installer and launch the setup wizard. Turn on the Quick Keys remote, and once it appears in the driver interface, the connection is successful. Then go to the corresponding page to start customizing the shortcut key functions.
Mac users should restart their computer after the software installation is complete for the driver to function correctly.
Find quick answers to the most commonly asked questions by checking on our online FAQ Knowledge Base page:
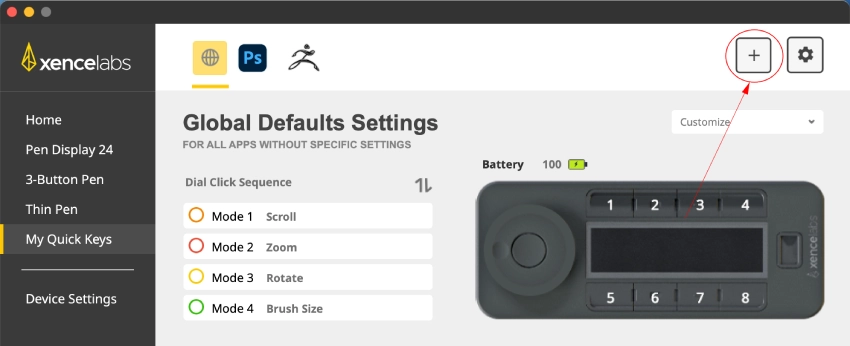
Click the “+” icon in the upper-right corner to add any software you’d like to set shortcuts for. Once added, enter the corresponding software’s settings page to customize shortcut functions for that specific application.
The dial works just like a mouse scroll wheel, making it ideal for continuous adjustments and cyclical actions, such as zoom in/out, canvas rotation, timeline zoom, brush size, brush hardness, vertical/horizontal scrolling, navigating along a timeline or spreadsheet, and adjusting track volume.
Each application supports 5 sets of 8 shortcut keys. You can customize each set and assign a name to it. Once configured, the assigned shortcuts will be instantly displayed on the OLED screen of the remote for easy reference.
Register to join the growing community of creatives using Xencelabs products and receive access to benefits like:
Update Notifications
Tips and Tricks
New Product Announcements
Special Promotions
Xencelabs Events
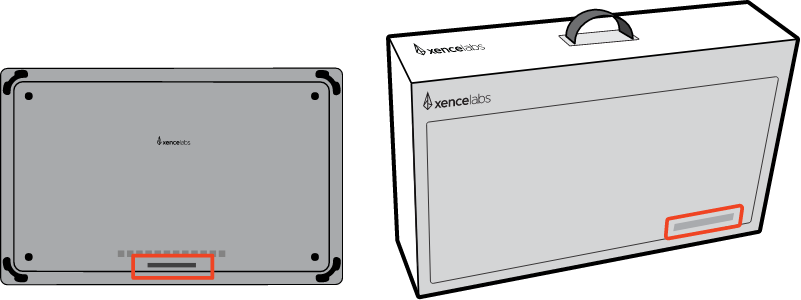
Your product serial number can be found on both your box, and the back of your Pen Display.
© 2026 Xencelabs Technologies Ltd. All Rights Reserved.