Welcome to the Xencelabs website
Select country or region to browse the content that applies to your location.


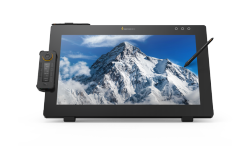
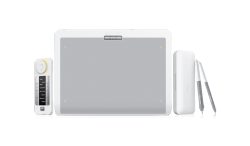

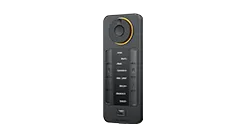

recommend
- Pen Display 24
- Pen Tablet Medium
Welcome to the Xencelabs website
Select country or region to browse the content that applies to your location.
When using a pen tablet to create digital illustrations, it can be helpful to enable pressure sensitivity. This feature lets you control the stroke weight of the digital brush by applying varying amounts of pressure on your drawing pen tablet, creating a more natural look when drawing using Adobe Photoshop.
Read this tutorial you will learn on how to enable this feature in Adobe Illustrator and control pressure in the Xencelabs Driver Panel quickly.
Install and setup the Xencelabs Pen Tablet on your system. Once setup start Adobe Photoshop and create a new document using "File > New". A New Document dialog box will appear, either accept the default settings or create a new document to your required size. A new blank canvas for the image will appear on the screen.
Click the “Brush Tool” in the main toolbar
Select "Windows > Brush" to display the Brushes Panel and settings. In this driver panel click on "Shape Dynamics" and set the drop-down "Control" box under the”Size Jitter”slider to "Pen Pressure".
Select a foreground colour and slide the Xencelabs Pen across the pen tablet surface and to paint a line on the canvas. Press harder for a wider line. Decreasing the pressure on the tablet surface with the Pen to a minimum to get a narrow line. You are controlling the width of the line by the pressure of your hand.
Experiment with other settings in the Brush Panel. Choosing the "Transfer" section and then "Pen Control" in the drop-down box under "Opacity Jitter", lets you increase the opacity of your paint by increasing pressure.
Combining both Transfer and Shape Dynamics allows you to control both Size and Opacity of your Brush on the canvas.
There are a lot of other settings for Pen Pressure in this panel. If you select two different foreground and background colours, you can then experiement with some amazing colour blends and patterns using the “Colour Dynamics” section.
You can control the Pen Pressure within the Xencelabs Driver Panel by adjusting it to suit your needs.
Open the Xencelabs Driver Panel.
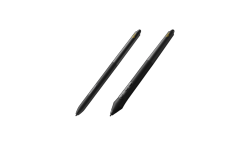
Select one of the Two Pens to customise. In this example we have selected the 3 Button Pen.
To adjust the pressure of the digital pen when using Adobe Photoshop it must be selected from the Applications at the top. The Yellow bar below the icon indicates which application is selected. If Adobe Photoshop is not listed here you will need to Add it to the menu by pressing the + to select and add it or load it in.
Selecting the "Advanced Settings" button will allow to control the amount of pressure that is comfortable for you when using Adobe Photoshop. This can be different when using other applications.
© 2026 Xencelabs Technologies Ltd. All Rights Reserved.


