


The human face, with its intricacies and emotional nuances, is a captivating subject for artists. But how do you translate that complexity onto the page or screen?
This guide shows you how to draw a real face step by step, empowering you to capture the essence of your subject.
Whether you're a seasoned artist or a beginner, our guide will equip you with the knowledge and tools to create stunning portraits.
How to Draw a Real Face Step by Step
Would you like to know how to draw a real face step by step? The following guide will teach you how to draw a realistic face and turn you into an artist.
Step 1. Establish the Head Shape and Proportions
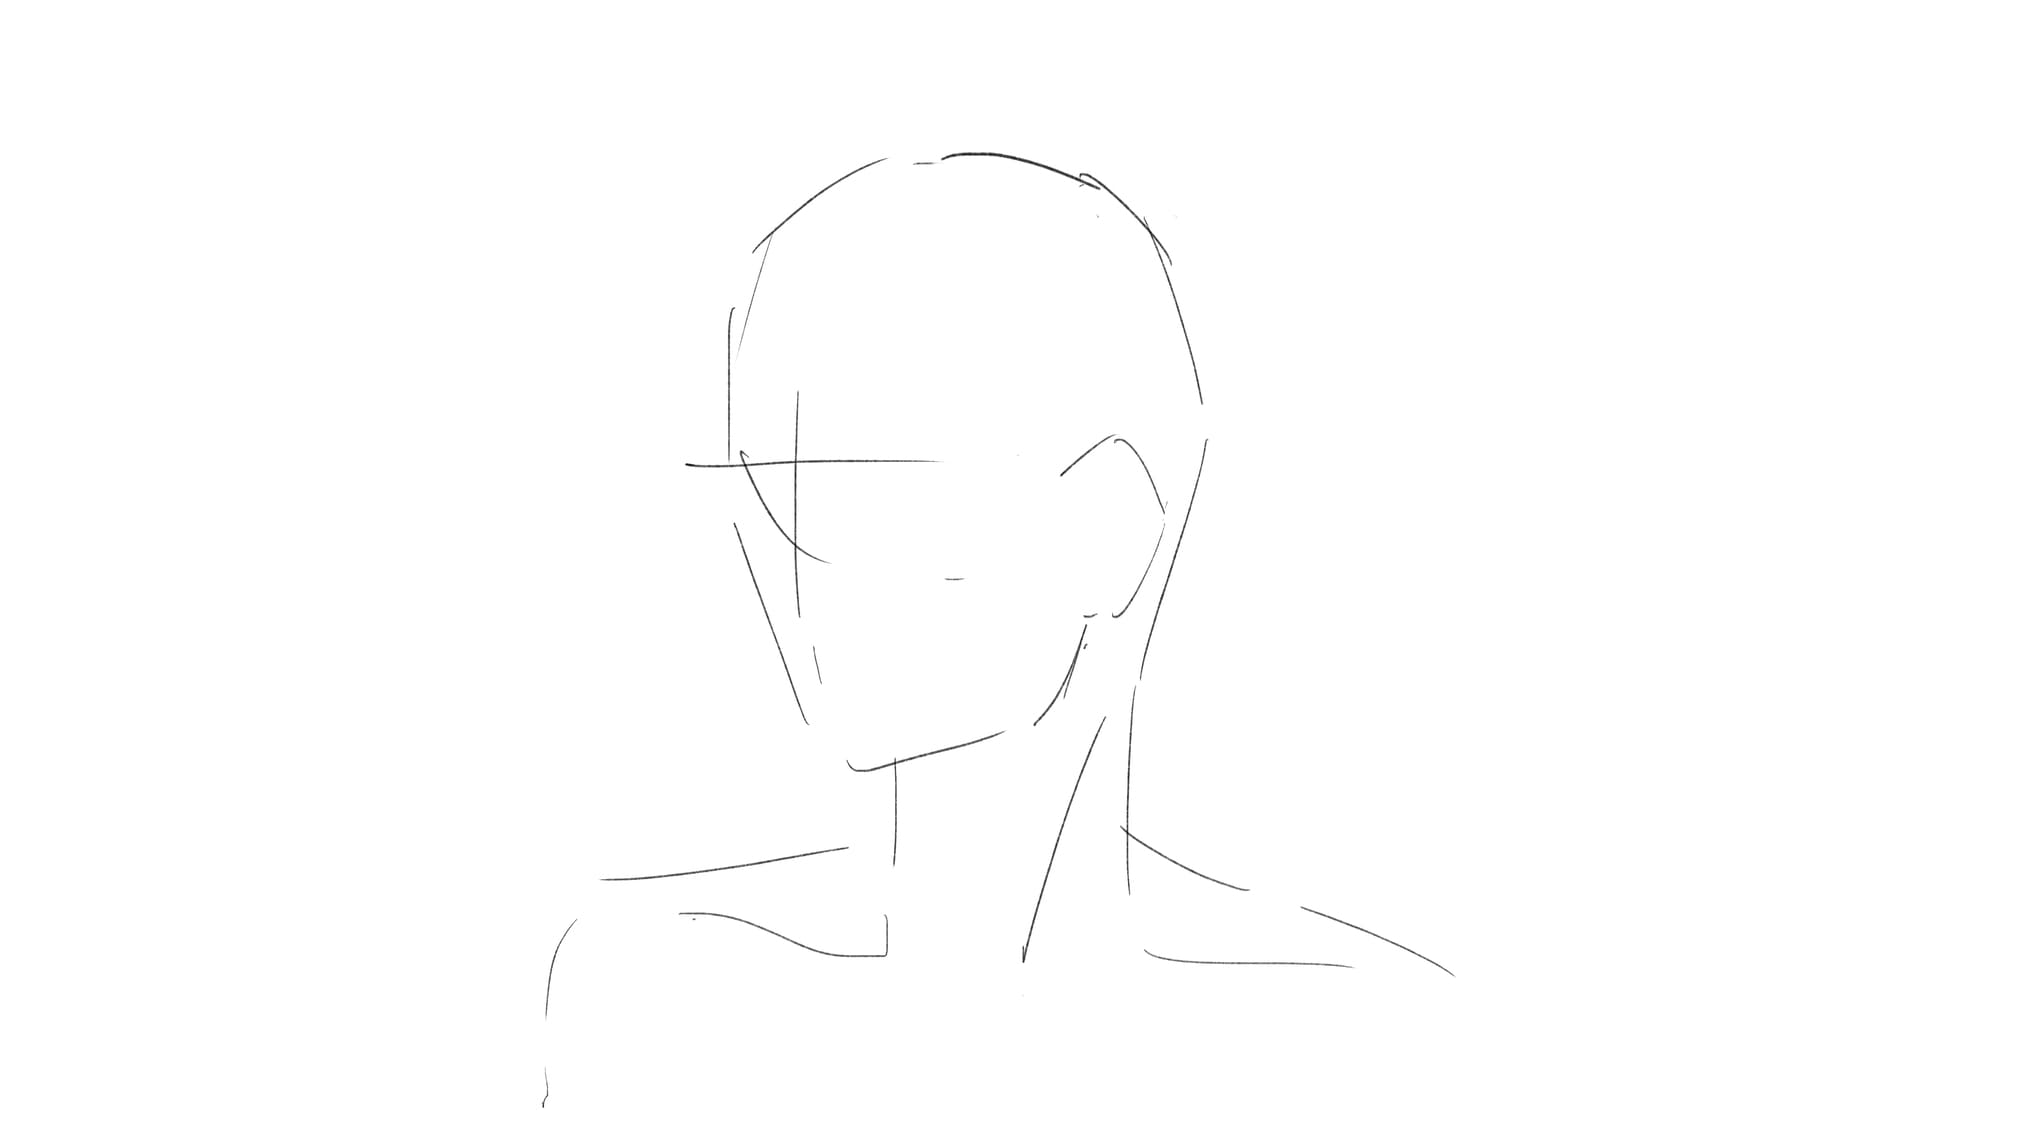
Lightly sketch a perfect circle to represent the head. This circle will be your guide for overall proportions.
Draw a vertical line down the circle's center, dividing it into equal halves. This line will act as your symmetry guide.
Now, divide the circle horizontally with three evenly spaced lines.
The top line should be one-third of the way down from the top of the circle.
The middle line should be exactly halfway down the circle.
The bottom line should be two-thirds down from the top of the circle.
These horizontal lines will help you place the facial features later.
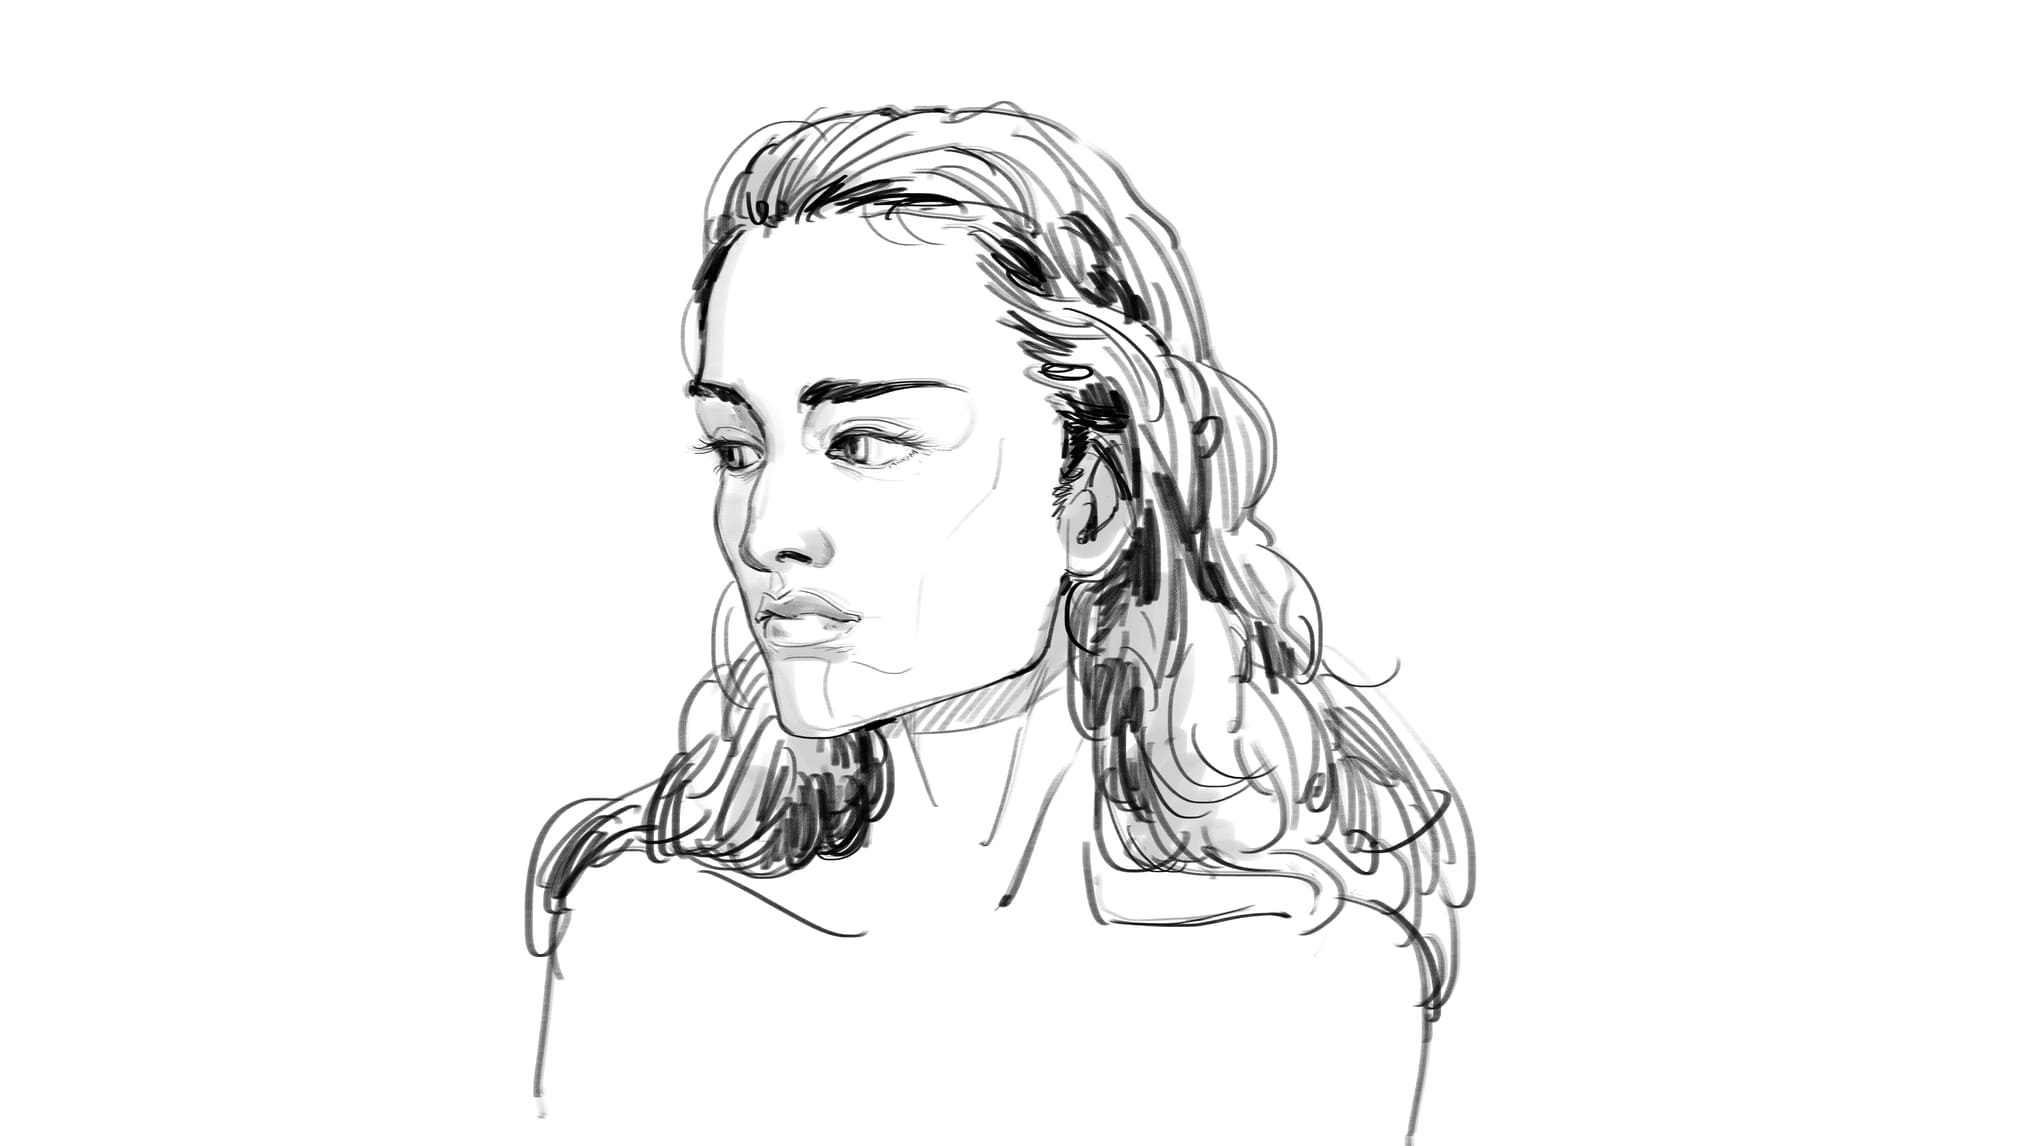
Step 2. Sketch The Eyes
Focusing on the top horizontal line, draw two lightly sketched ovals slightly off-center within the circle. Imagine these ovals are slightly almond-shaped, wider in the middle, and tapering towards the ends.
The inner corners of the ovals should be closer together than the outer corners.
Within each oval, draw a smaller circle for the iris. Leave a small space between the iris and the top lid for the white of the eye.
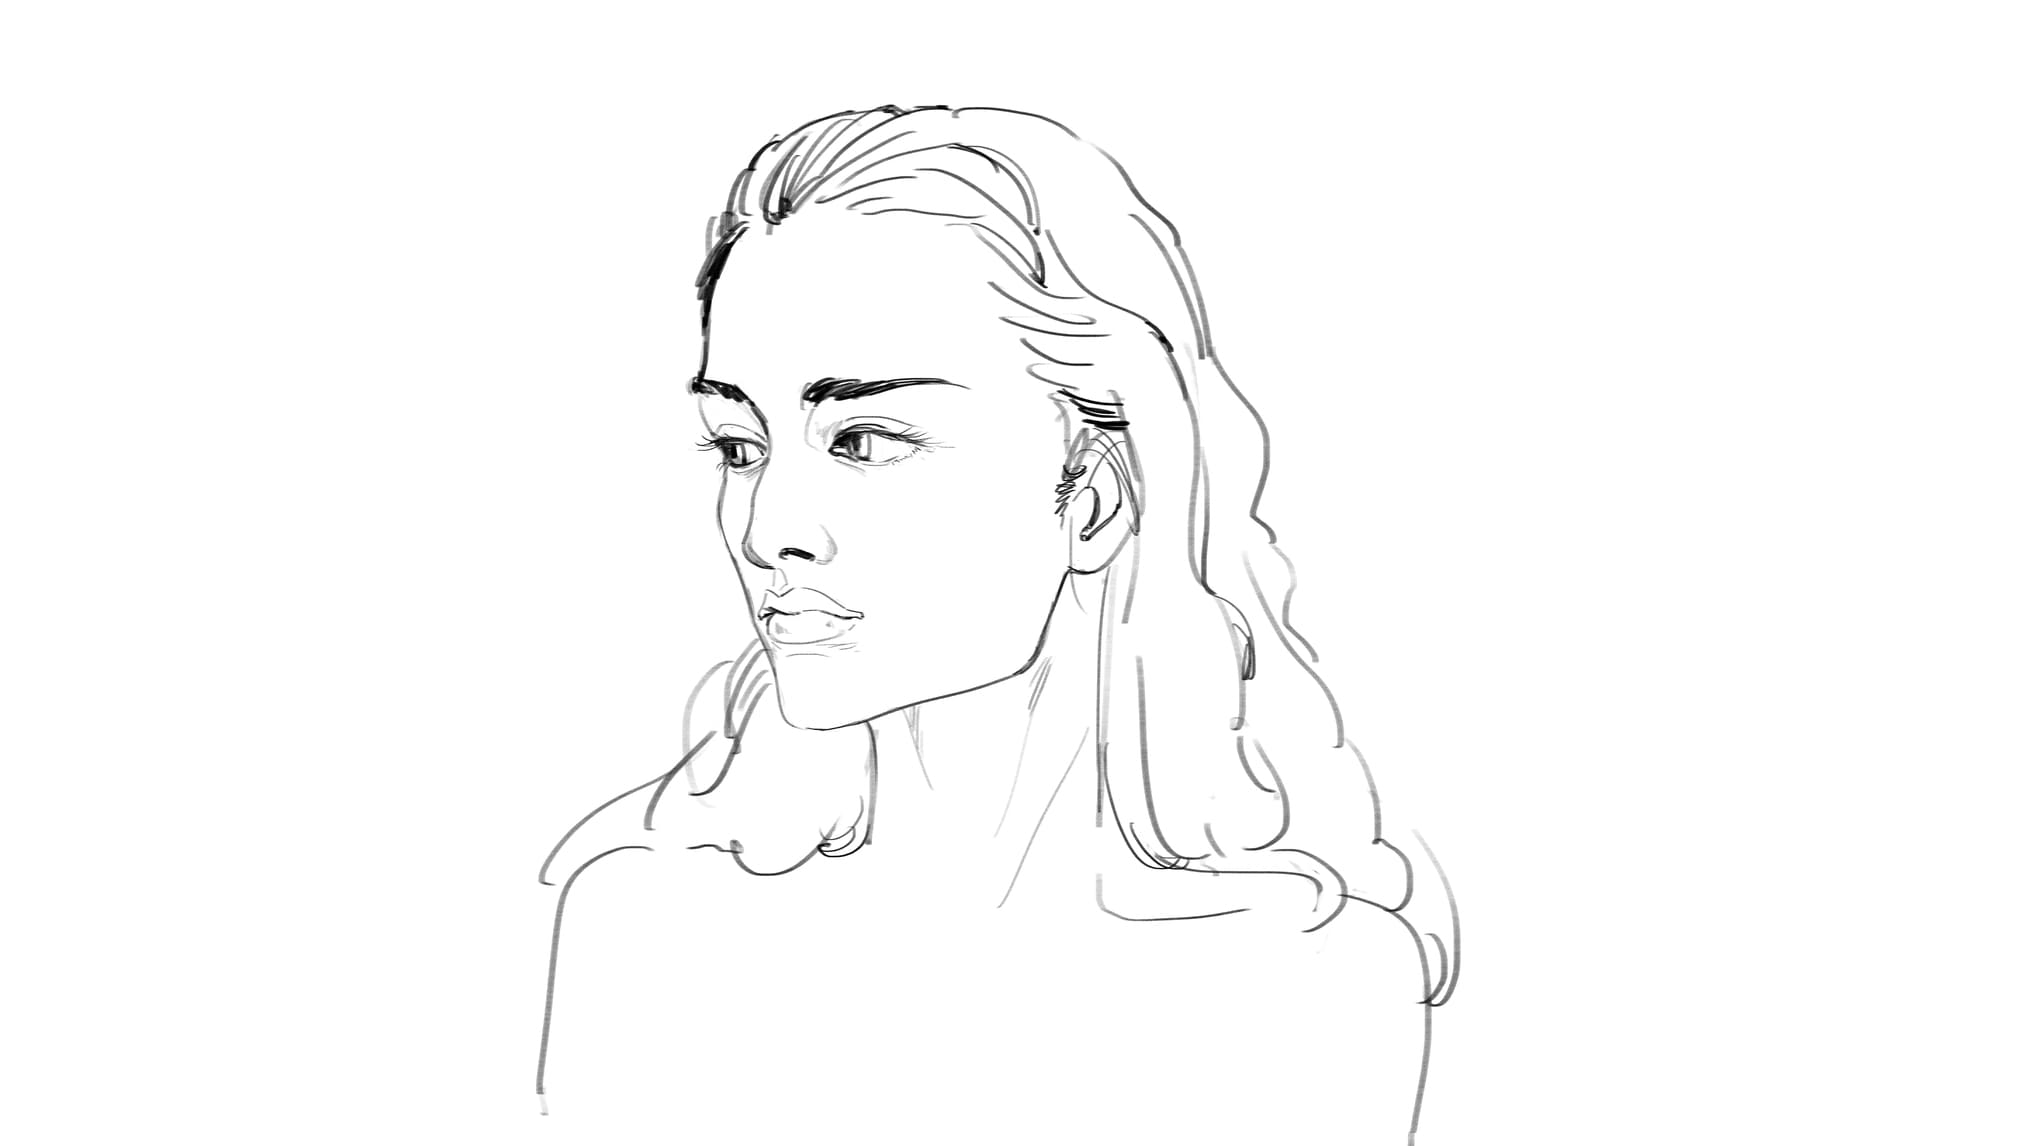
Step 3. Draw the Nose
Move down to the middle horizontal line. Here, draw a small, lightly sketched triangle with its base resting on the line. This will be the base of the nose.
From the bottom corners of the triangle, draw two short, curved lines that meet in the center, slightly above the middle line. These lines define the nostrils.
Refine the shape of your nose by adding a small vertical line across the bridge and a slight curve at the tip.
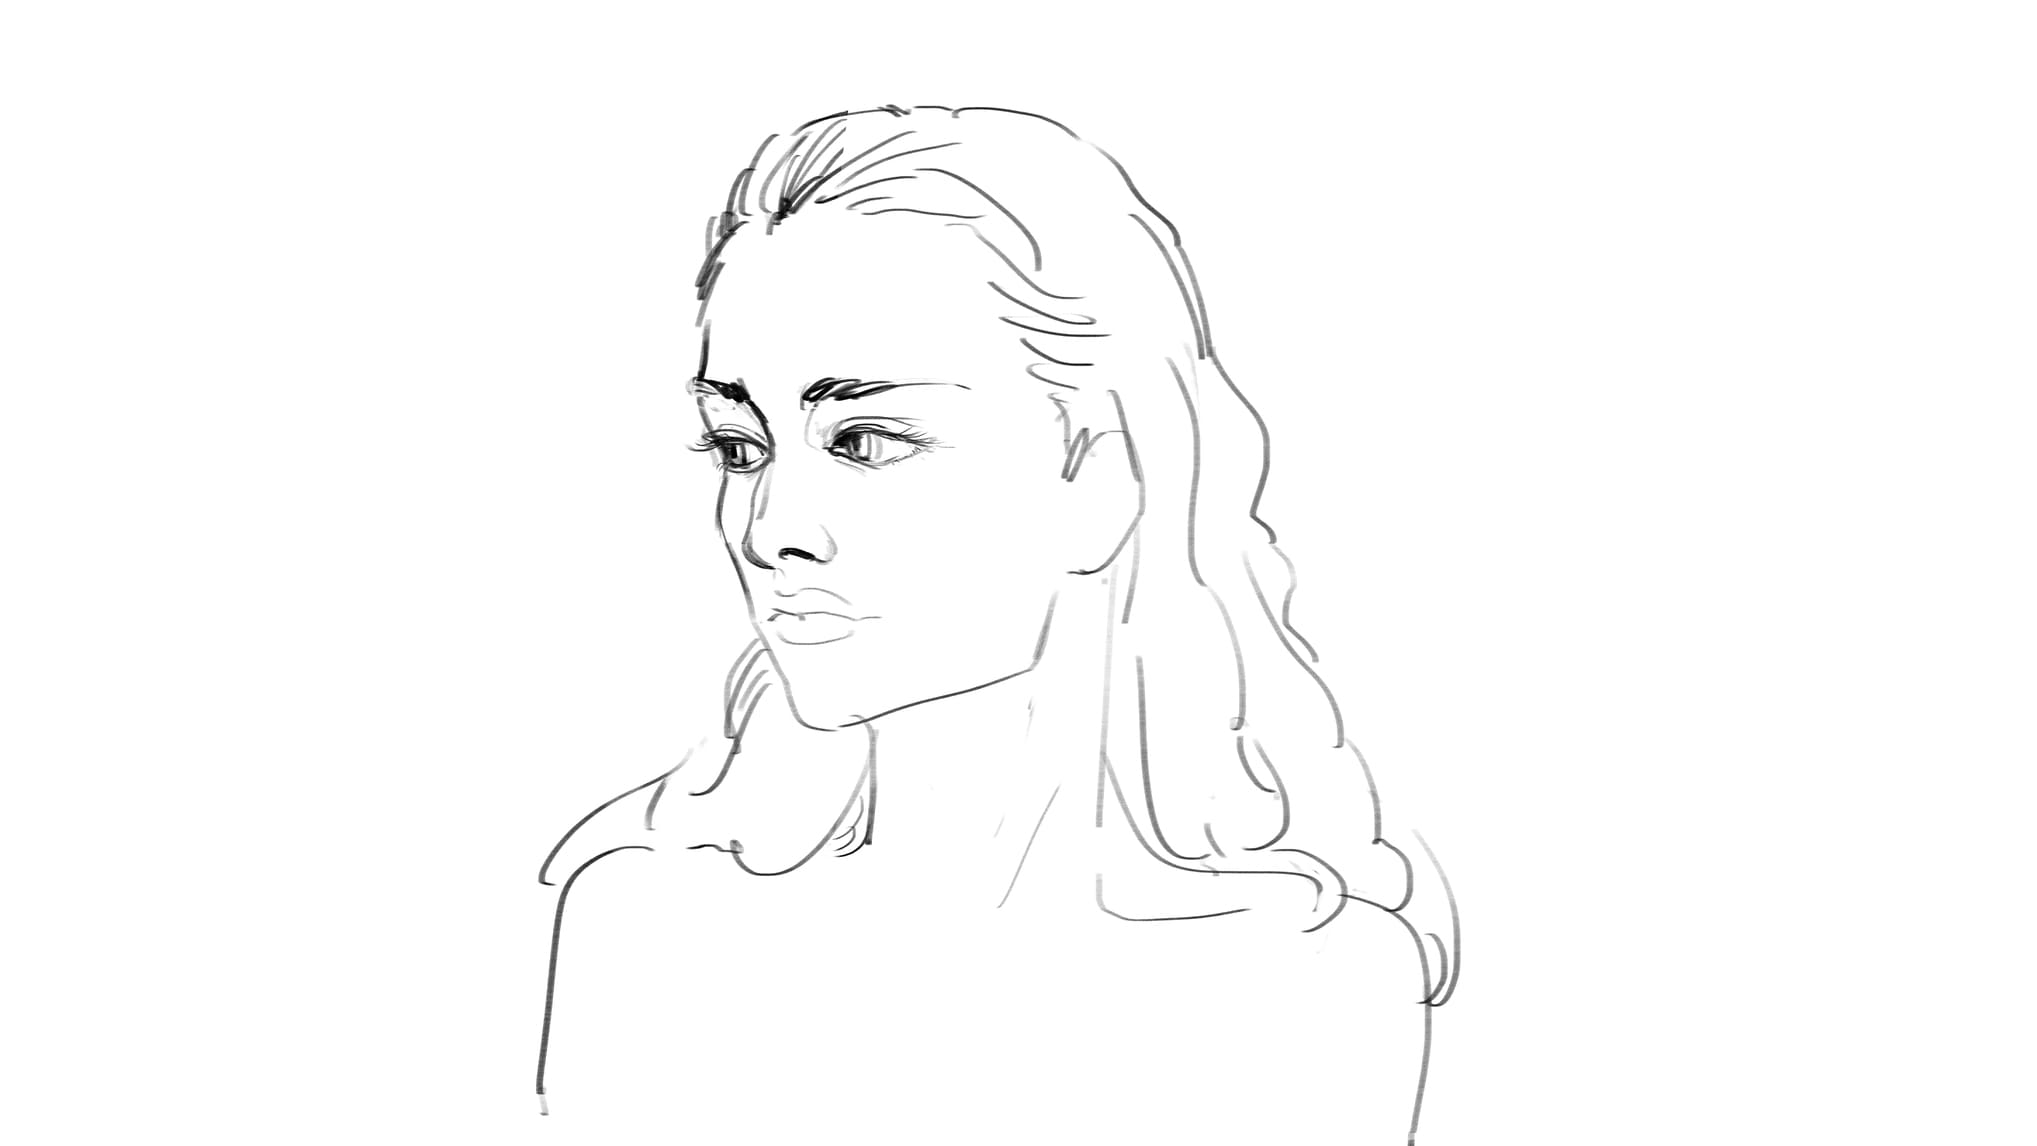
Step 4. Add the Mouth and Eyebrows
Move down to the bottom horizontal line as a guide for the mouth. Here, draw a subtle curved line following the natural curve of the bottom of the face. Adjust this curve slightly for a smile or a more neutral expression.
Above the eyes, following the shape of the skull, draw two arched lines for the eyebrows. The thickness and angle of the eyebrows can be adjusted to convey different emotions.
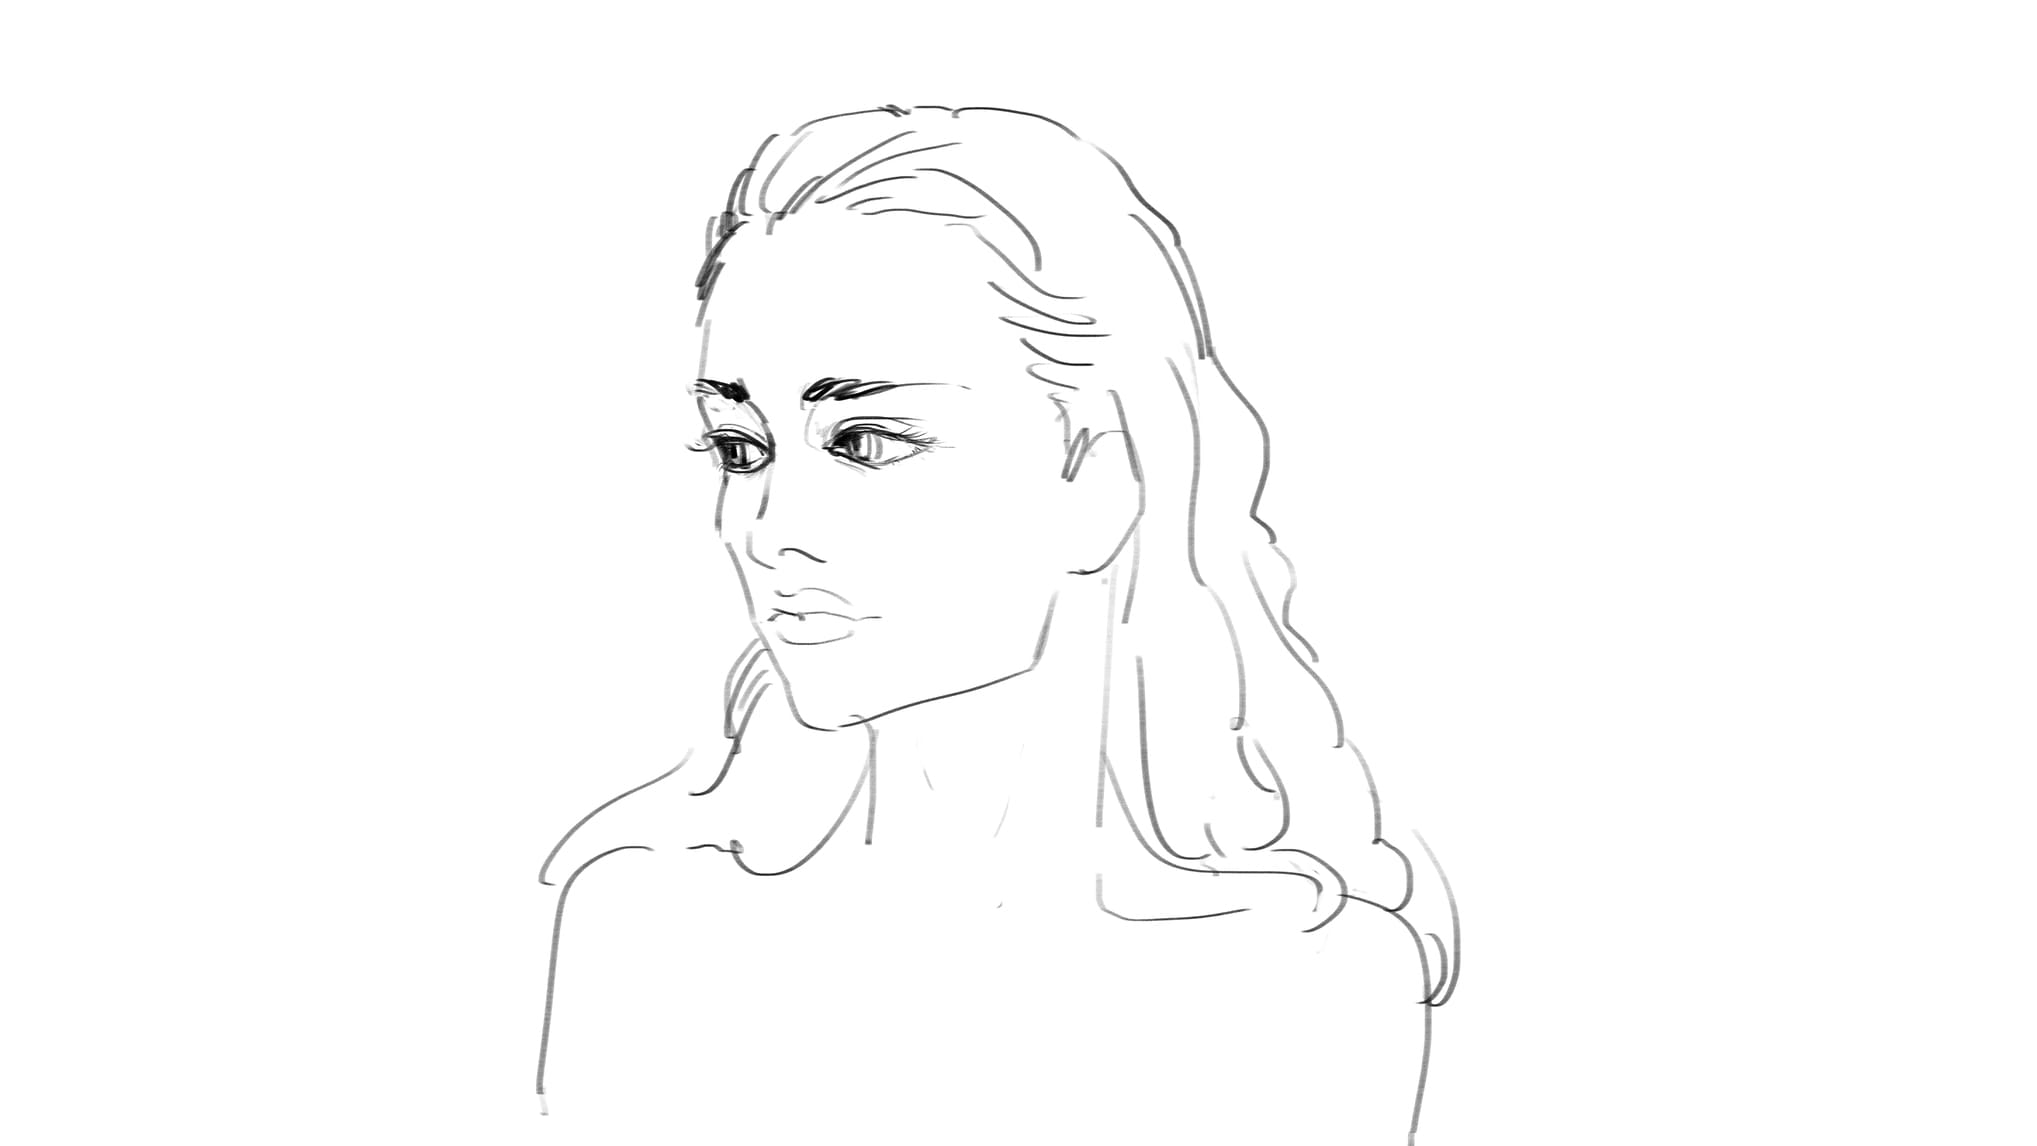
Step 5. Adding Shading and Details
Add subtle shading to create depth and dimension using a light pencil or shading tools. Shade the areas around the eyes, the sides of the nose, and beneath the brow bone.
Lightly shade the upper lip to define its shape. You can also add a subtle highlight to the bottom lip.
Add shading to the cheekbones and jawline to suggest the underlying bone structure. Remember to consider the light source when placing your shadows.
Refine the eyebrows with additional hair strokes. You can also add details like freckles or beauty marks for a unique touch.
Bonus Tip:
Pay close attention to the negative space between the facial features throughout the process. The spaces between the eyes, nose, and mouth are just as important as their features. Observe how the shapes of these features interact with each other.
Things you should know to draw a good portrait
Ever wondered how to draw a realistic face?
Mastering realistic portraiture takes time and practice, but some key principles can elevate your artwork from the start.
Here are three critical points to keep in mind.
1. Observation is Key
A keen eye for detail is crucial. Pay close attention to proportions, shapes, and subtle variations in light and shadow on a real face.
2. Understand Underlying Structure
The human face is built on an underlying bone structure that influences the placement and form of facial features. Studying basic anatomy will significantly improve your portraits.
3. Practice Patience and Precision

Realistic drawing requires patience and a focus on accuracy. Using the right tools can make a big difference. For creators of all levels, Xencelabs pen tablets offer pressure sensitivity that mimics the feel of traditional drawing. At the same time, our Quick Keys provide customizable shortcuts to streamline your workflow. These tools empower you to translate your vision onto a digital canvas with greater control and precision.
If you're trying to learn how to draw a real life face, these tips lay the foundation for the ultimate result you're searching for.
Of course, as we mentioned, the tools you use also help you learn how to draw real people's faces. As you advance in your ability to draw a real human face, you'll want to add emotions and expressions to your artistic expression of what you see. This will require new techniques like blending, shading, and more advanced lighting.
However, with the basics outlined above and throughout this post, anyone can learn how to draw a real human face.
Remember that realistic portraiture is a skill that takes time and practice to develop. It's important to approach this art form with dedication and a willingness to learn from both successes and mistakes. With the right tools, such as Xencelabs pen tablets known for their pressure sensitivity, you can enhance your ability to create lifelike portraits.