
Creating 3D characters is an adventure in and of itself—one that provides you with the opportunity to bring innovative concepts and passion to life. Whether you are an aspiring animator, game developer, or simply a creative person wishing to dig into the world of 3D modeling, this blog will help you create 3D characters.
We will talk about the process step by step, review modeling software options, and discuss how much time and resources you'll need to invest along the way. In addition, we'll talk about ways to enjoy the experience more and how to improve efficiency so that you're getting the most out of the adventure.
The art of 3D character development will allow you to access a realm of possibilities that you never knew existed. Are you ready to take the first step on your path to becoming a 3D character maker? Continue reading to learn more.
How to draw a dog stеp by stеp
There are various steps involved in creating 3D characters. These steps use both technical and artistic abilities, which may seem out of your league, to begin with, but with time, you'll learn how to use the software of your choice to your advantage. When you do, you'll find that your confidence increases with each character you create. The following are typical steps in the process:
1) Design and Conceptualization
Idea Generation: This is where you clearly define the character's traits, history, and purpose. It's crucial to think about your character's goal, the setting, and the genre before moving on to the actual design process, as the information you generate here will drive your designs.
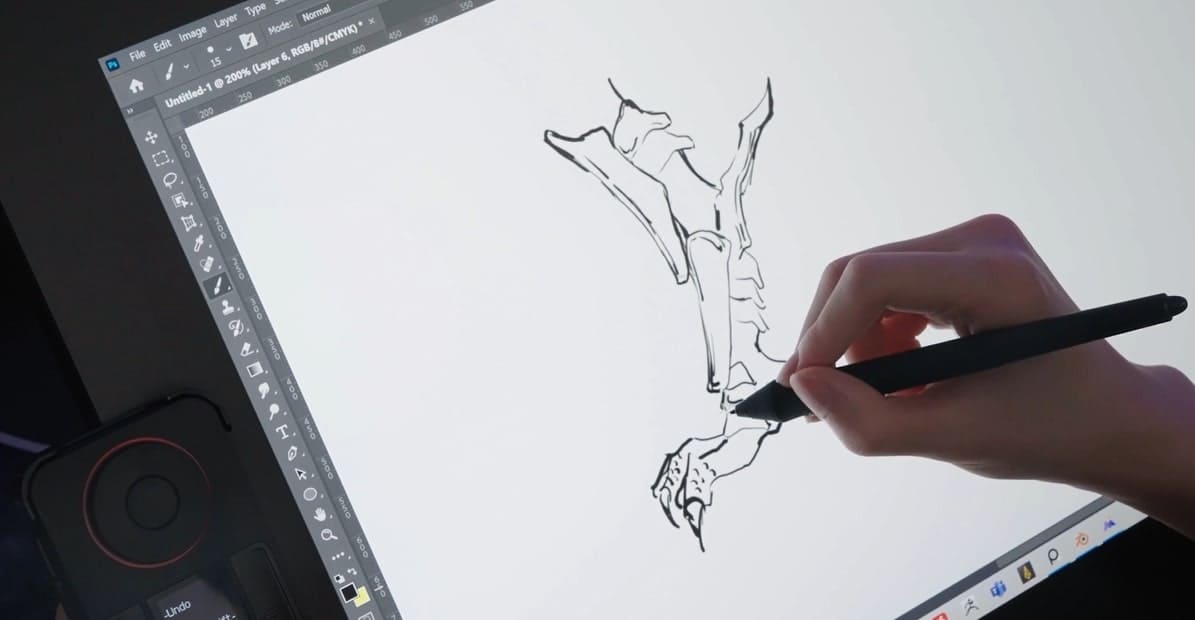
Idea Art: To see the character's appearance, outfit, and overall design, you'll need to create 2D concept art that will act as the 3D model's template.
2) Modeling
Blockout or Base Mesh: To start, you will use basic forms to create a rudimentary 3D depiction of the character. This aids in establishing stance and proportions.
Detailing: Fine-tune the model's shape and structure by gradually adding details. Be mindful of the accessories, attire, and physical aspects.
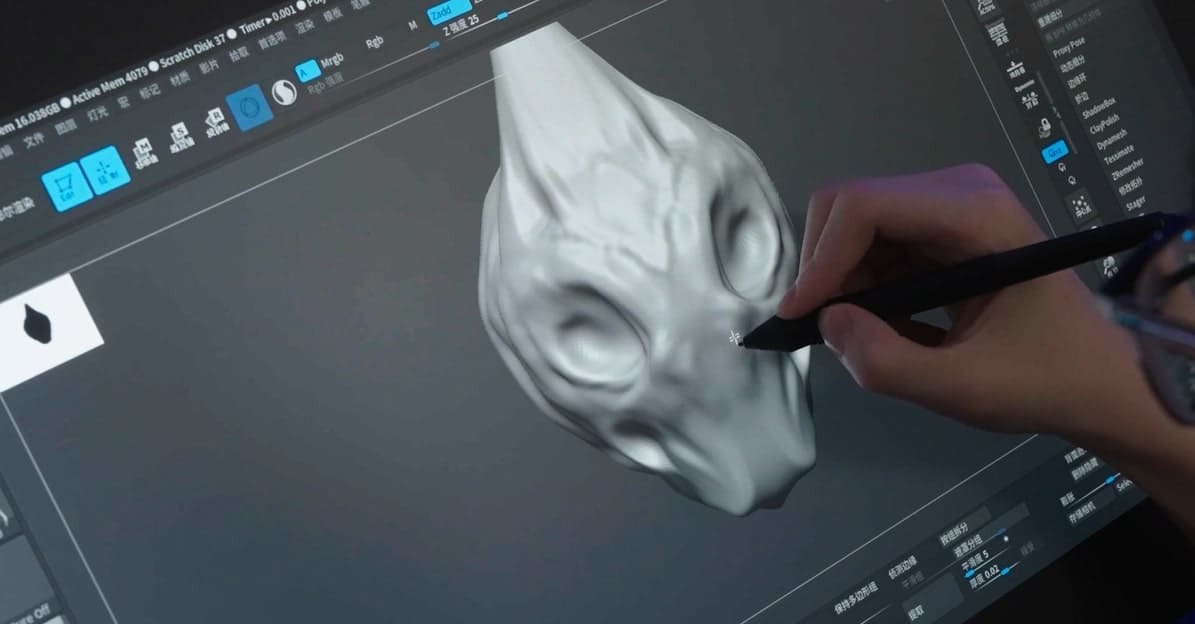
3) Sculpture
High-Poly Sculpting: Sculpting gives the character minute detailing. This is where wrinkles, facial emotions, and other fine details can be defined. High-poly sculpting is frequently done using programs like ZBrush.
4) Retopology
Make a Low-Poly Model: This step creates a high-poly model with a reduced resolution. It is a necessary step for effective rendering and animation. Ensuring smooth deformation during animation is contingent upon appropriate topology.
5) UV Mapping
Unwrapping: You will flatten the 3D model into a 2D representation (UV map) to prepare it for texturing. This entails arranging the elements logically to reduce distortion and streamline the texturing procedure.
6) Texturing
Texture Painting: Using the UV map as a guide, you will add details, colors, and patterns to the 3D character. There are various software programs, which will be discussed below, to produce realistic textures.
7) Rigging
Construct a Digital Skeleton: In this step, you'll build a digital skeleton (rig) inside the 3D model. The bones and joints that will regulate the character's motion during animation should be defined at this point.
Weight Painting: To achieve natural mobility, it's important to assign various bones to different portions of the model. The weight painting technique establishes the degree of effect that each bone has on a certain model vertex.
8) Animation

Keyframing: Identify the character's essential poses and motions at particular frames. This acts as the animation's framework.
In-Betweening: Next, you'll need to fill in the frames in between important positions to provide realistic and fluid motion. This process may involve adjusting timing and easing to achieve the desired effect.
9) Rendering
Set Up Rendering Parameters: Configure the lighting, camera angles, and visual effects in the rendering process by setting up the rendering parameters.
Render the Animation: Rendering software will be used to create your 3D character's last frames.
10) Post Processing
Compositing: If required, you'll need to combine rendered frames with extra graphic components. You can use post-processing effects like motion blur, color correction, and depth of field to improve the outcome.
11) Integration and Export
Formats for Export: Save the animation, textures, and 3D model in the proper file formats.
Integration: Bring the three-dimensional character into the platform of your choice, be it an animation program, gaming engine, or virtual reality setup.
Continuous feedback and iteration are essential to this procedure to refine your 3D characters and make sure they satisfy project needs. Keeping up with the most recent software developments and 3D modeling methods will also improve the overall quality of your 3D characters.
Modeling Software Options
As you might imagine, there are a variety of software options available. For our purposes, we'll explore a few of the top programs to give you an overview. From there, you can decide which programs meet your needs best. Don't be afraid to experiment a bit, as finding the right software will make all the difference in your 3D character journey.
Autodesk Maya
Due to its broad feature set, easy-to-use interface, and entertainment industry reputation, Autodesk Maya is a popular choice for 3D character design. The film, TV, and gaming industries use Maya extensively, so learning how to use it gives you highly transferable and in-demand professional expertise.
Autodesk Maya also has all the tools needed for 3D modeling, texturing, rigging, animation, and rendering, making it a good all-in-one solution. Plus, its interface is still easy to use.
Finally, Maya's seamless connection with Autodesk products like Mudbox and MotionBuilder lets you use motion capture, texturing, and sculpting tools to boost efficiency.
Blender
Blender is another option for 3D character creation, and not just because it's free. The open-source nature of Blender encourages community cooperation, and a wealth of tools, add-ons, and tutorials make it easy to learn how to make a character in Blender.
This welcoming environment helps newcomers find direction and education, while still being helpful for those who are well-versed in creating characters. Also, Blender works on Linux, macOS, and Windows. Because of this versatility, you can choose the platform that suits your hardware or tastes.
Over the years, Blender's useability has improved, providing you with consistent upgrades and refinements. Additionally, you can take advantage of a large community forum, and access extensive tutorials.
Finally, Blender supports several file formats, making it easy for new users to import and export assets from other tools. Due to interoperability, users can collaborate with artists using different platforms and using current materials.
ZBrush
Beginning 3D character creators often use ZBrush for their needs thanks to its simple interface and access to an innovative brush system. This brush system allows you to imitate conventional sculpting techniques which improves the transition from tactile to digital sculpting.
ZBrush also offers a non-destructive workflow, which lets you adjust your 3D character without permanently changing the original model. This is a great option since it allows you to truly experiment while learning.
Additionally, the large library of configurable brushes and alphas in ZBrush lets users create a variety of textures and features in 3D models. Those who can't design bespoke brushes will benefit from this plethora of tools. ZBrush can also render 3D characters with extreme detail. This allows you to create realistic lighting and shading.
SketchUp
The user-friendly design, simplicity, and accessibility of SketchUp make it a popular choice for learning 3D character creation. Plus, SketchUp's user base is vast and highly engaged, making for a welcoming community environment. Tutorials, forums, and online resources include anything from fundamental modeling techniques to sophisticated ones.
A bonus to the SketchUp software is the 3D Warehouse, which is a massive online library of pre-made 3D models. You can use this resource to find pre-made characters and incorporate them into their creations, saving time. Thanks to this rapid prototyping, you're able to visualize your ideas quickly.
And how to create 3d characters free online? SketchUp has a free edition with basic features, allowing you to make a 3D character free, and a premium version with even more features. The option to choose appeals to those who may be hesitant to upgrade until they gain more experience.
How Much Is the Cost of Building a 3D Character?
After reading this, you might wonder about the possibility of hiring someone to create 3D characters, especially if you're in a time crunch. The good news is that you can find artists to complete your project from a variety of sources, such as freelance portals like Upwork and Fiverr.
You might also explore using an outsourcing studio for your needs. When using either of these methods, you'll need to communicate your project needs clearly, making sure to highlight the desired aesthetic, the character's goals, and any particular technological requirements. The cost of creating a 3D character can vary greatly depending on several criteria, including complexity, detail level, and artist experience. For example, 3D character artists often bill between $30 and $50 per hour based on the size of the project.
Before starting the project, it is essential to have a clear understanding of deliverables, changes, and payment terms to guarantee a productive working relationship and a satisfactory result.
How Long Does It Take to Create a 3D Character?
As mentioned above, there are multiple steps involved in producing a realistic and detailed 3D character. Understanding this, it can take a few days to a week to create simple, basic characters with basic designs, but it might take weeks or even months to create complex, lifelike figures, especially for expensive video games or movies.
Collaborating with others might add to the timeline, but the result is typically worth it. Further variables that may impact character production speed include software tools, technological developments, and the artist's level of comfort with the selected tools.
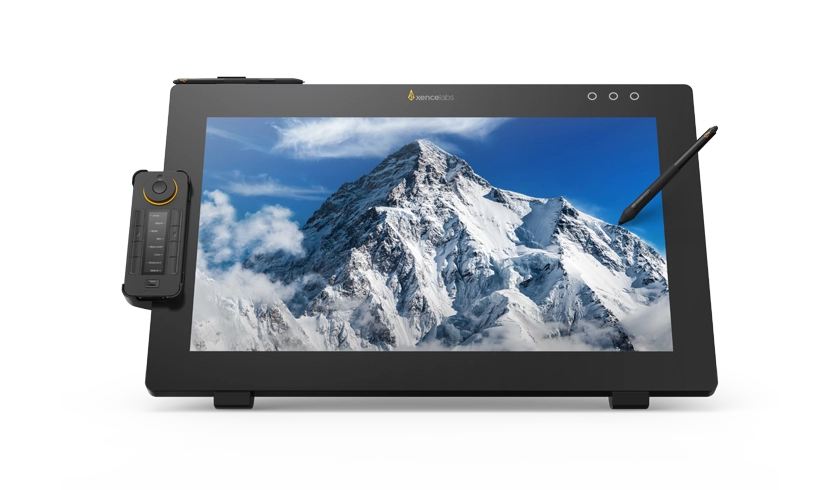
How Can You Improve Working Efficiency While Creating Your 3D Character?
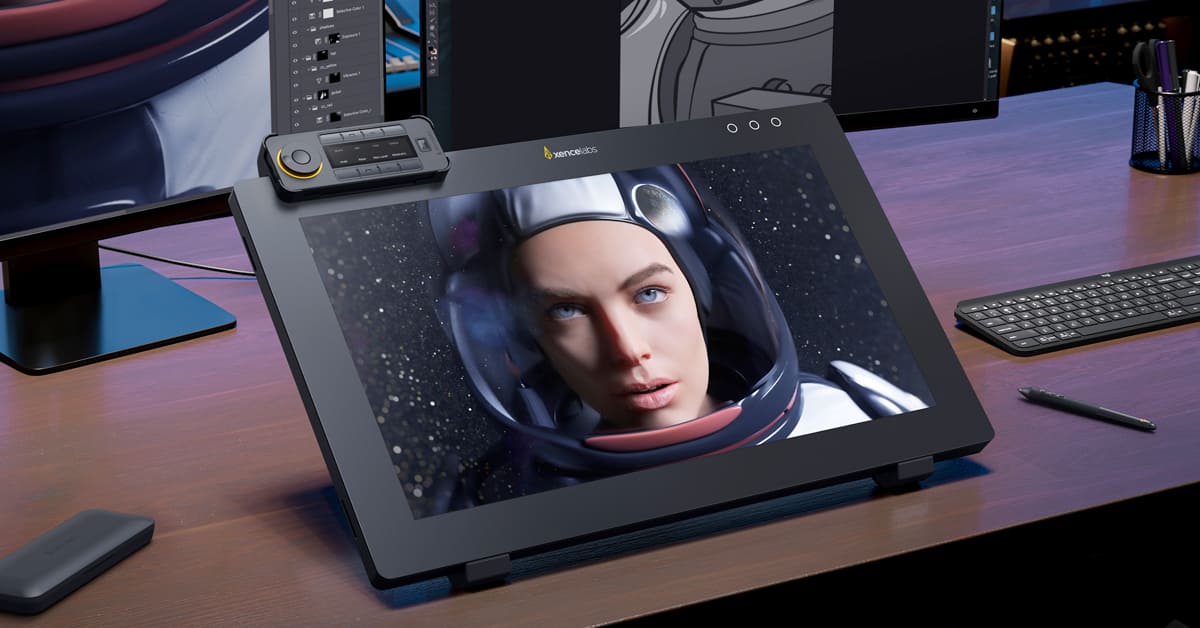
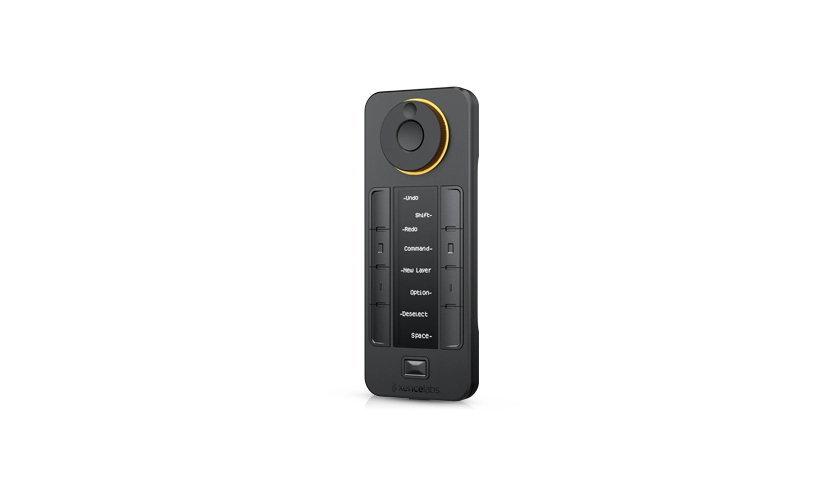
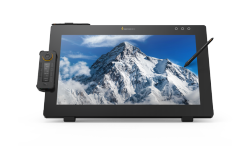
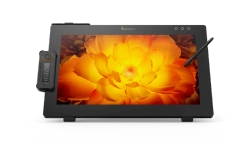
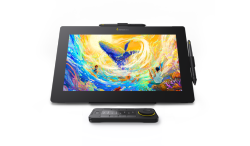
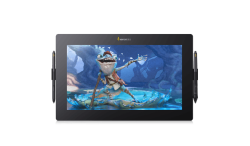
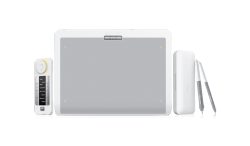
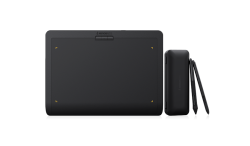
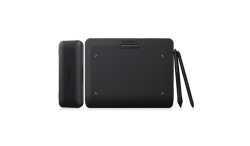
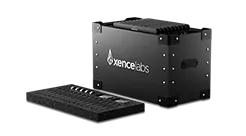
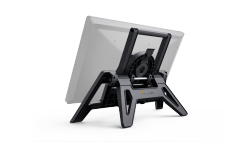
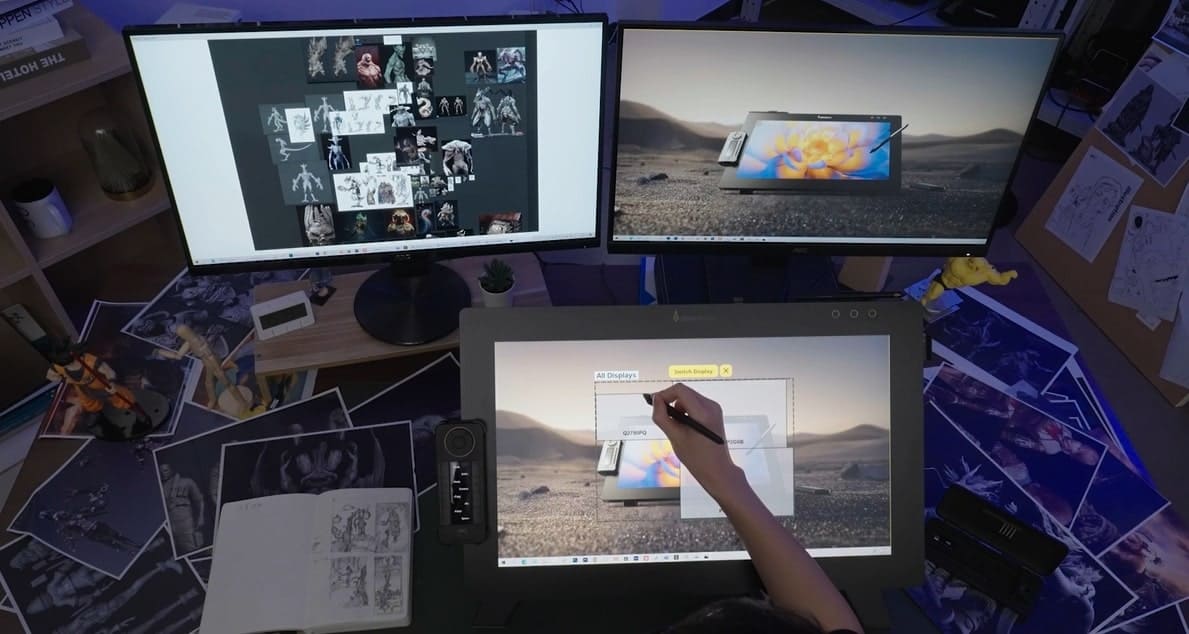
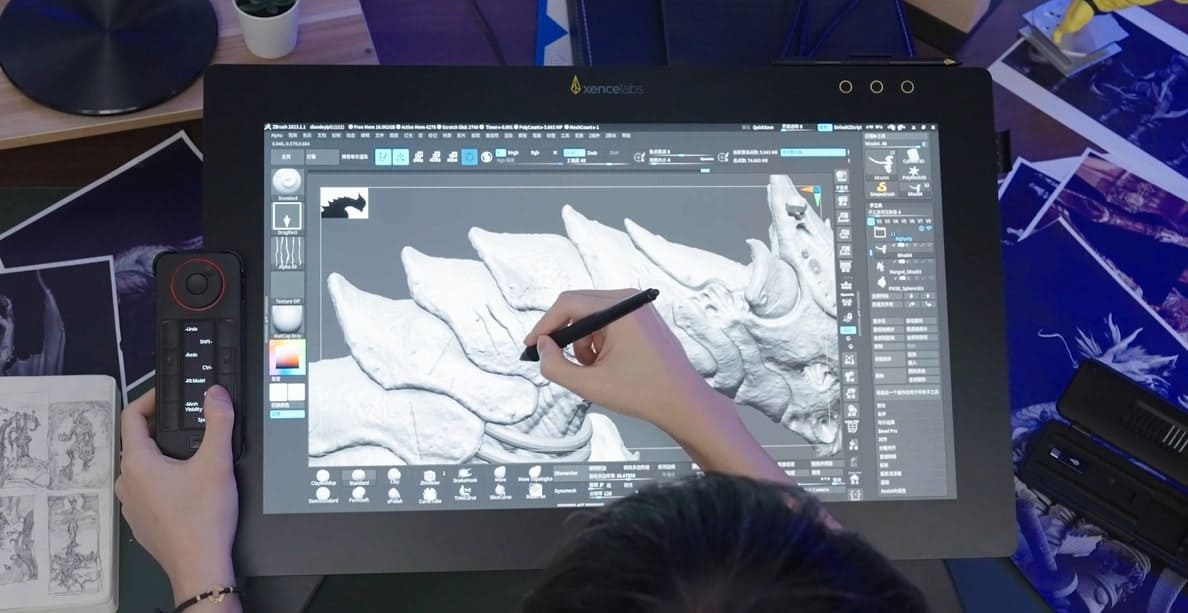
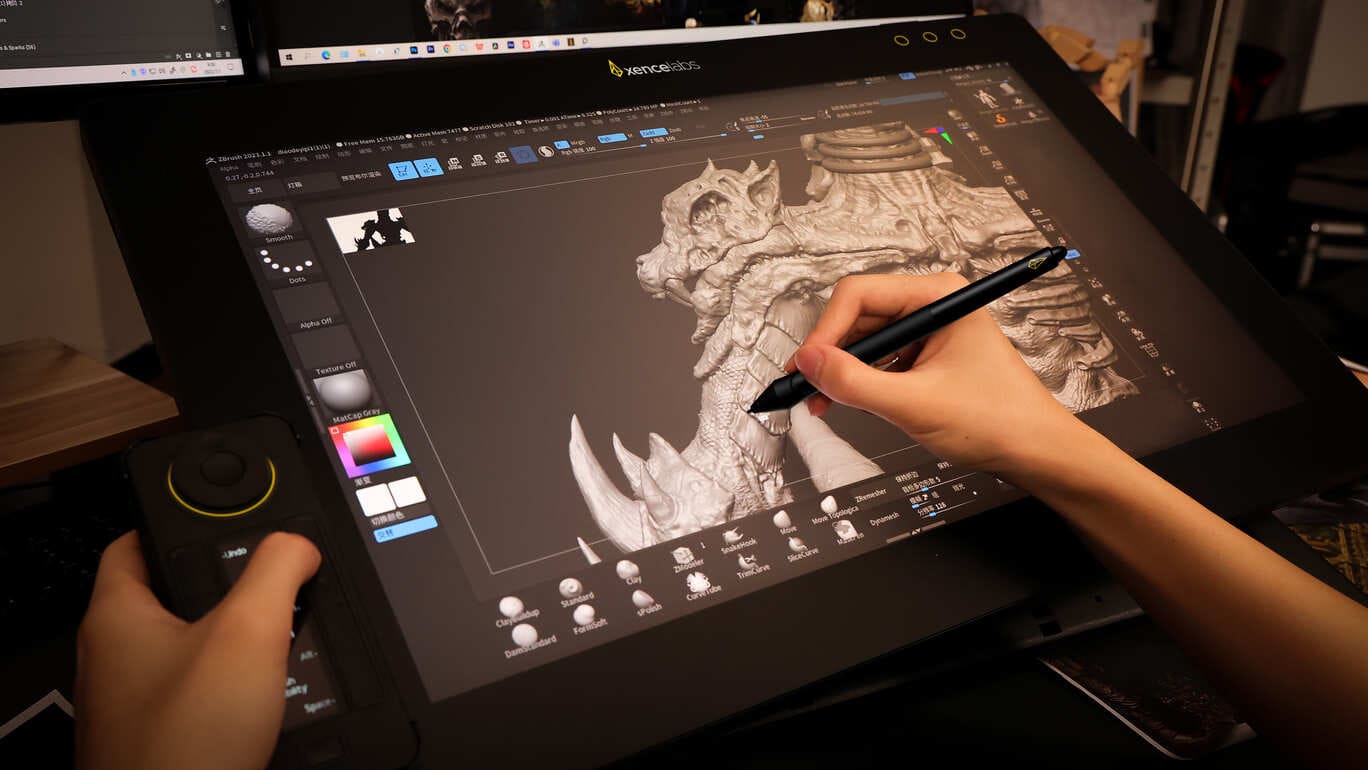
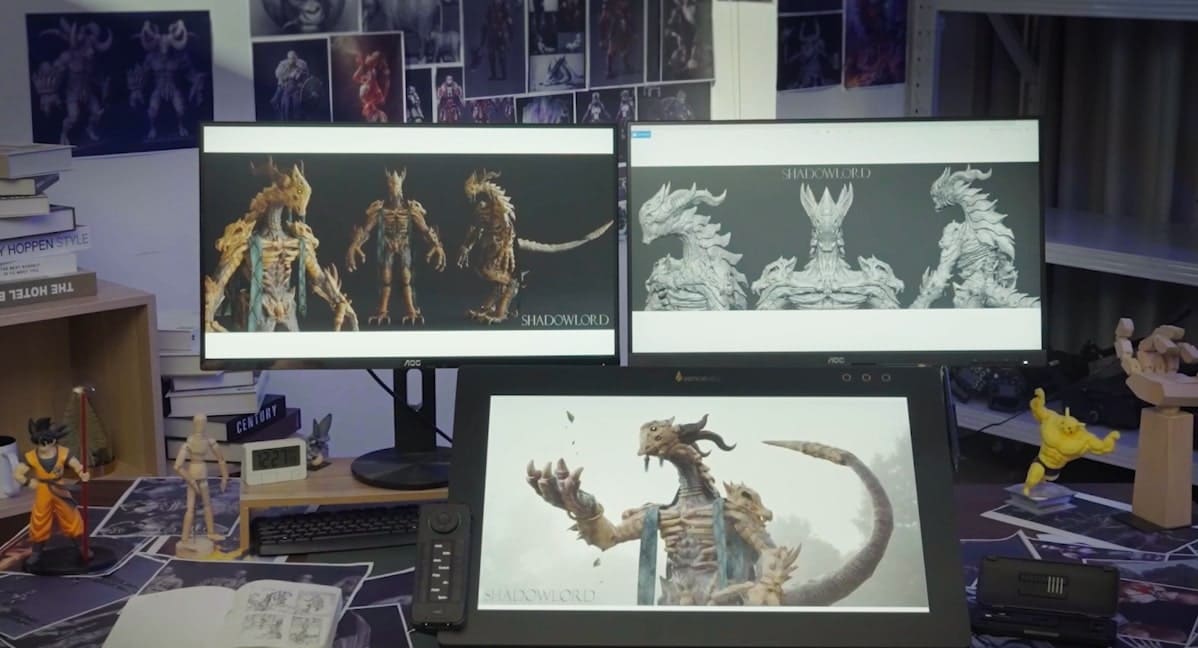
Creating 3D characters requires technology, art, and productivity, and the tools you use affect your art. To create 3D characters with the best efficiency, you should consider the Xencelabs Pen Display 24 and Quick Keys.
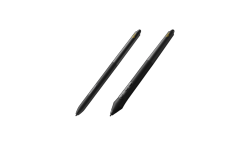
You'll gain exceptional control and precision using the Xencelabs Pen Display 24. Its high-resolution display lets you work on intricate 3D character features without sacrificing accuracy. Plus, the pen's pressure sensitivity lets you draw delicate strokes and realistic textures for character design.
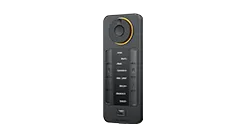
Additionally, the Pen Display 24's Quick Keys feature boosts productivity by allowing you to set programmable shortcut buttons for frequently used tools or operations. This lets you traverse menus with a single press instead of a mouse or keyboard, saving time on repetitive tasks.
Also, the Xencelabs Pen Display 24 works with the most popular 3D modeling and animation tools, meaning that your hardware and software work together to streamline the process as you make 3D characters come to life.
FAQs
Can 3D models be animated?
Yes. 3D model animation involves the use of programs like the ones listed above to give static 3D objects lifelike details and movements.
Can you print 3D models?
Yes. The procedure entails the layer-by-layer transformation of a computer 3D model. For a successful and precise 3D print, design factors, including the object's size, geometry, and support structures, are crucial.
What free 3D modeling programs are available?
There are numerous possibilities for free 3D modeling software, including Blender, which offers an open 3D design toolkit for all your animation needs. You can also download SketchUp or use FreeCAD, which is an open-source parametric 3D CAD modeler.
When creating three-dimensional characters, what should you consider?
There are several things to consider when designing 3D characters, but perhaps the most important thing is to utilize a system that allows you to completely personalize your design experience, which is exactly what Xencelabs Pen Display 24 and Quick Keys offer.